Discover a professional 3D printing powder supplier

(DIY Delight: Building Your Own Custom 3D Printer)
Title: “From Dream to Dimension: Crafting Your Own 3D Printer Adventure”
(DIY Delight: Building Your Own Custom 3D Printer)
Imagine a machine that turns your wildest ideas into tangible reality—a gadget that materializes dragons, functional tools, or even replacement parts for your toaster. Now picture building that machine yourself, bolt by bolt, wire by wire. Welcome to the world of DIY 3D printing, where creativity meets engineering, and every screw tightened is a step toward unlocking infinite possibilities.
Why settle for a store-bought 3D printer when you can engineer your own? Building a custom 3D printer isn’t just about saving cash (though your wallet will thank you). It’s about the thrill of problem-solving, the pride of craftsmanship, and the freedom to tweak your machine to perfection. Think of it as assembling a high-tech Lego set, except the final product can print more Legos. Meta, right?
Let’s start with the basics. A 3D printer is essentially a robot that speaks the language of melted plastic. To build one, you’ll need a frame (think aluminum or acrylic), stepper motors to control movement, a hotend to melt filament, and a brain—usually a microcontroller like an Arduino or Raspberry Pi. Add belts, pulleys, and a sprinkle of patience, and you’ve got the ingredients for a personal factory.
The journey begins with the frame. This is your printer’s skeleton, and its stability determines whether your prints come out smooth or resemble abstract art. Assemble it with the precision of a watchmaker—crooked frames lead to wobbly prints, and nobody wants a lopsided coffee mug. Next, mount the motors. These little workhorses control the X, Y, and Z axes, guiding the hotend with the grace of a ballet dancer. Connect them to the controller board, and suddenly your machine has a nervous system.
Now, the hotend. This is where the magic happens. It heats plastic filament to a gooey 200°C-ish and extrudes it layer by layer. Installing it feels like giving your printer a voice—it’s the difference between silence and the sweet hum of creation. Don’t forget the print bed! A leveled bed is crucial; it’s the difference between a sculpture that sticks and one that launches itself into orbit mid-print.
Software ties it all together. Programs like Marlin or Klipper translate your 3D models into instructions your printer understands. Calibrating this stage is like teaching a robot to dance—it takes trial, error, and a few facepalms. But when the first layer adheres perfectly? Cue the confetti.
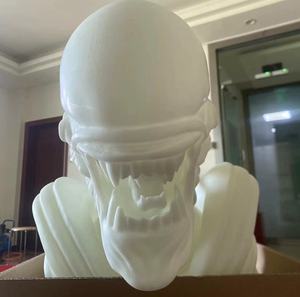
Of course, no DIY quest is complete without troubleshooting. Wires will cross, belts will slip, and the hotend might decide to impersonate a charcoal briquette. But each hiccup is a lesson. By the time your printer spits out its first successful Benchy (the unofficial “Hello World” of 3D printing), you’ll feel like Tony Stark in a garage lab.
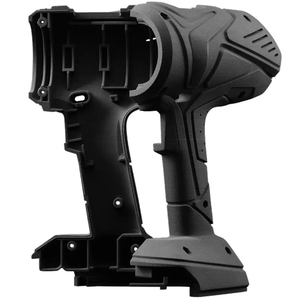
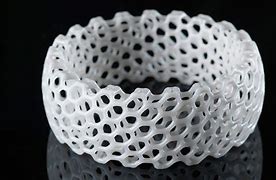
The real reward? Customization. Add a bigger print volume for life-sized cosplay props. Upgrade to a dual extruder for multicolor masterpieces. Or slap on a laser module and pivot to engraving. Your printer, your rules.
(DIY Delight: Building Your Own Custom 3D Printer)
Building a 3D printer isn’t just a project—it’s a gateway to a universe where imagination is the only limit. Whether you’re crafting bespoke gifts, prototyping inventions, or printing tiny hats for your cat, every creation is a testament to your ingenuity. So grab your toolkit, embrace the chaos, and dive into the addictive world of DIY 3D printing. Your future self, surrounded by a army of plastic minions, will high-five you for it.Inquiry us if you want to want to know more, please feel free to contact us. (nanotrun@yahoo.com) hot tags: 3d printing,3D printiner,3d printing material

(DIY Delight: Building Your Own Custom 3D Printer)
RELATED POSTS

Batch Application of 3D Printing Aluminum Alloy Powder

Self-Sustaining Systems: Can You 3D Print Another 3D Printer?
Who Uses Large Format 3d Printers
Properties and Production Technology of Nickel-based Superalloys
How to Increase the Density of Stainless Steel Powder Metallurgy